My bench pin is no more. Reduced to a mere stump, it has come to the end of its life and has to be replaced. Still, I find it hard to let go of it. I look at the scars left by the tools and I reminisce about the projects I have lived with these past years.
A bench pin is a small wedge-shaped wooden extension of the workbench and, as humble as it may look, it is a very important piece of equipment. In fact, as Michael David Sturlin notes in his excellent article “Bench Pin Basics” (in Art Jewelry Magazine. September 2012), for us goldsmiths, “… the bench pin is the center of our world”. And I would add that it might be the most personal piece of equipment as well. Let’s explore how one can develop a better relationship with it.
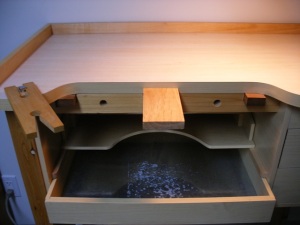
To help you work more comfortably, the bench pin should be placed at the right height. When you sit at your bench, facing the bench pin, your back should be straight and you should be able to keep your head up, with the pin at mid-chest level. And since we are on the subject of ergonomics, you should always be connected to your bench pin while you work – remember, it is the centre of your world. This means that your workpiece, your hand or your tool should always be in contact with the pin, whether you are sawing, drilling, forming or filing. This will ensure you work efficiently and safely. To quote M.D. Sturlin again, no “air jewelry” please! For that reason, the bench pin must be firmly secured to the bench. Pins come in different styles, but regardless, if your bench pin is wiggly, you won’t be able to work with maximum accuracy and control.
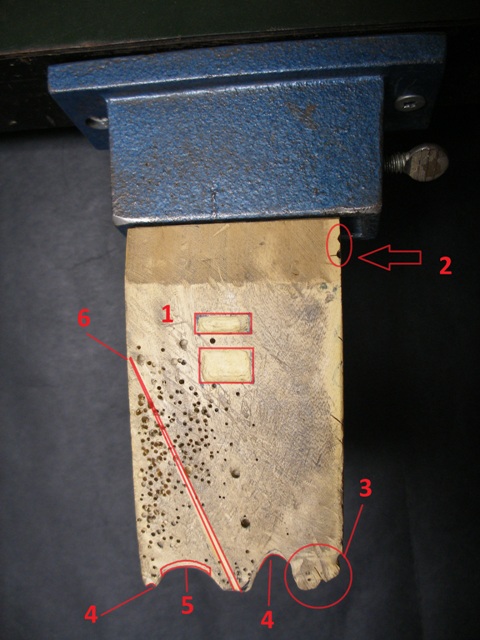
You are going to work with your bench pin for several years, so make it your own, and make it work for you. Don’t be afraid to carve and cut into it to modify it. Here is a diagram of the modifications I made to mine, but feel free to customize your own bench pin according to your needs (if you are left-handed, you might want to reverse the diagram).
1– Depressions: carve with round burrs; great for holding rings when filing inside the shank.
2– Vertical grooves: clamp a board on the side of the pin, and drill holes of various diameters perpendicular to the top; good for filing the top of tubing sections.
3– Nub: cut with a saw, and then file; good for holding a coil of wire while sawing the jump rings (push the coil onto the nub to stiffen it and secure it). Can also be used to cut a ring shank when sizing a ring – for that, slide ring over nub, and saw safely.
4– Notch: saw first, and then file, carve one or several in different sizes. Great for forming (brace object in the notch).
5– Slanted edge: useful for filing or when using a ring clamp (when setting a stone on a ring, for example).
6– Tapered groove: for filing evenly the tapered end of a piece of round wire.
In addition to these, you could make a V-shaped cut for sawing. I prefer to use a separate cutting board for that, but it can be done on your bench pin as well. In that case, make sure you install the pin with the flat side up. For more suggestions, I recommend Tim McCreight and Charles Lewton-Brain, metalsmiths, teachers, and best-selling authors of way too many technical books to mention here, and of course, the Ganoksin Project (search in “bench tips”).
The beauty of the bench pin is in its simplicity; you can personalize it to your needs. Start with a few basic modifications, and then customize it further for your next project. It’s easy. Simply use a file, a saw or a burr and shape it as you like. As Rick said in Casablanca, “Louie, I think this is the beginning of a beautiful friendship.”

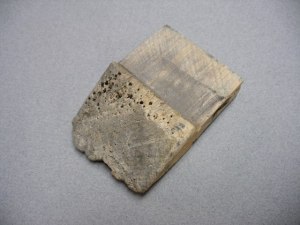
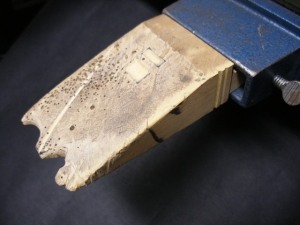
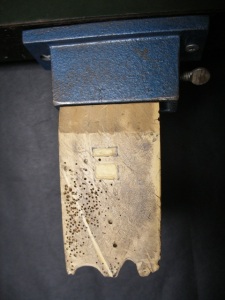
Aged objects are beautiful to the heart, soul and memory.
I love the bench pin’s shape, its evidence of life. It’s like a face that shows it has lived.
I think its new life should be in an enchanted small garden, where it will slowly become new again.
Oh Bob, always a poet! Thank you for your suggestion; I will bury my old bench pin in the garden, which is only fitting since I find so much joy and inspiration there.
Dominique – what a fabulous idea to show us new ideas for our own jewelers’ benches. I love #2 above; I’d never seen that in others’ bench pins before – so many practical ideas here to assist with making great work. Thank you for your post – I really enjoyed reading it!
When I realized, many years ago, that my bench pin was not a precious thing, but something that could be “improved on”, it was a revelation! Since then, I’ve been looking for various ways of making it work for me. This particular modification is by Tim McCreight (Complete Metalsmith), who is always such an amazing resource. Thank you very much for your comments, Patricia.
Great ideas to modify my still somewhat pristine bench pin. I felt guilty the first time I drilled into it!! Now I realize that I can have a wonderfully creative relationship with this important tool. thanks for your continued inspiration!
Thank you for visiting my blog, Donna. I am glad to hear you’ve been busy at your bench, and I’d love to see your latest creations!
Pingback: Zen and the art of sawing | metal+mettle
Reblogged this on Off The Grid Designs Blog and commented:
There are a few things in my studio I could gladly do without. My bench pin is not one of them. Fortunately, I’m not in a position to need a replacement — YET. I suspect the demise of my beloved bench pin would trigger an existential crisis, and it seems this might be a common feeling among jewelry makers.